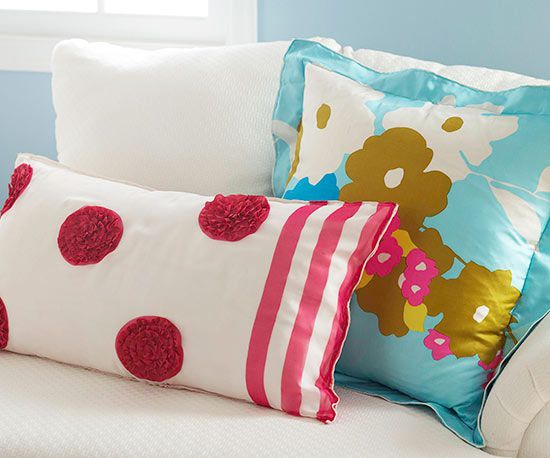
Sewing a pillow can be a rewarding and creative project for both beginners and experienced crafters. In this guide, I’ll take you through the step-by-step process of creating your very own decorative pillow. Let’s get started!
Sew a Pillow – Materials You’ll Need:
1. Fabric for the pillow cover
2. Pillow stuffing or insert
3. Sewing machine or needle and thread
4. Scissors
5. Pins
6. Measuring tape
7. Fabric marker or chalk
8. Iron and ironing board
Step 1: Choose Your Fabric
Select a fabric that suits your style and complements your home décor. Common choices include cotton, linen, or decorative upholstery fabrics. Ensure that you have enough fabric for the front and back of your pillow, plus a little extra for seam allowances.
Step 2: Measure and Cut Fabric
Measure and mark the size you want for your pillow cover on the fabric, ensuring you have two identical pieces for the front and back. A standard size for throw pillows is 16×16 inches, but feel free to customize to your liking. Cut the fabric carefully using sharp scissors.
Step 3: Pin and Sew the Edges
Place the two fabric pieces together, right sides facing each other. Pin the edges to secure them. Leave a small opening (about 4 inches) on one side for turning the pillow cover right-side out.
Step 4: Sew Three Sides
Using a sewing machine or hand-sewing with a straight stitch, sew along three sides of the fabric, approximately ½ inch from the edge. Be sure to reinforce the corners with a few backstitches.
Step 5: Trim Excess Fabric
Trim the corners diagonally, close to the stitching. This will help the corners look crisp when you turn the pillow cover right-side out.
Step 6: Turn It Right-Side Out
Carefully turn the pillow cover right-side out through the opening. Gently push out the corners with a pointed object, like a chopstick, for a neat finish.
Step 7: Insert the Pillow Form
Place your pillow stuffing or insert into the cover. Ensure it’s evenly distributed to avoid lumps.
Step 8: Hand-Stitch the Opening
Fold the raw edges of the opening inside and hand-stitch it closed with a ladder stitch. This will create an invisible seam.
Step 9: Press Your Pillow
Iron the pillow cover to smooth out any wrinkles and creases. Be cautious with heat settings depending on your fabric type.
Step 10: Enjoy Your Handmade Pillow!
Your pillow is ready to adorn your couch or bed. You’ve created a beautiful, custom pillow that adds a personal touch to your home décor.
Example: Let’s say you’ve chosen a floral pattern for your fabric. By sewing a pillow cover with this fabric, you can bring a touch of nature indoors, making your living space feel more vibrant and inviting.
Remember, sewing pillows is a versatile and fun way to express your creativity and upgrade your living space. Experiment with different fabrics and sizes to match your décor, and you’ll soon have a collection of unique, handcrafted pillows. Happy sewing!
Read Also: Types of Business Growth and 5 Reasons why Businesses Grow
