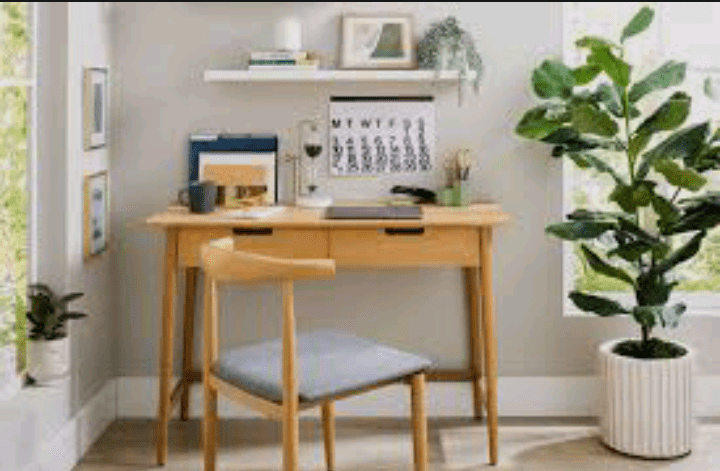
Are you tired of generic desks that don’t quite meet your needs? It’s time to take matters into your own hands with a DIY desk project! In a world where personalization is key, building your own desk allows you to tailor your workspace to your unique requirements.
Whether you’re a student, a remote worker, or a creative enthusiast, a DIY desk is the perfect solution to create a functional and stylish workspace that suits you.
Building a DIY desk isn’t just about saving money; it’s about creating a space that inspires productivity and reflects your personal taste. In this article, we’ll guide you through the process of designing and constructing a desk that fits seamlessly into your life.
From choosing the right materials to adding personalized touches, we’ll cover every step to ensure your DIY desk is not only practical but also a statement piece in your home or office.
No need to worry if you’re not a seasoned DIY expert. We’ll break down the process into simple, manageable steps, providing you with tips and tricks to make the journey enjoyable and stress-free.
By the end of this guide, you’ll not only have a customized desk that caters to your specific needs but also a sense of accomplishment from creating something with your own two hands.
So, let’s roll up our sleeves and embark on this DIY adventure together. Get ready to transform your workspace into a haven of productivity and personal expression with a DIY desk that’s uniquely yours!
Read Also: How Long Does It Take a Hazelnut Tree to Produce Nuts?
DIY Desk

I. Understanding Your Needs
Before going into the world of DIY desk construction, take some time to reflect on your specific needs and preferences. Consider the following factors:
A. Space Requirements: Evaluate the available space in your room or office. Measure the dimensions to ensure that your DIY desk will fit comfortably without making the room feel cramped.
B. Functionality: Think about the primary functions your desk will serve. Will it be a simple workstation for your computer, or do you need additional storage space for documents, stationery, or other work-related items?
C. Aesthetic Preferences: Consider the overall design and aesthetic you want for your workspace. Do you prefer a minimalist, modern look, or are you drawn to a more rustic and handmade appearance? Understanding your aesthetic preferences will guide your material and design choices.
II. Selecting Materials
A. Desk Surface: Choose a durable and visually appealing material for the desk surface. Common options include plywood, MDF (medium-density fiberboard), or solid wood. Consider factors such as cost, durability, and ease of maintenance when making your decision.
B. Legs and Frame: Selecting the right material for the desk legs and frame is crucial for stability and aesthetics. Metal hairpin legs provide a modern and sleek look, while wooden legs can add warmth and a touch of traditional craftsmanship.
C. Finishing Materials: Decide on the finishing materials, such as paint, stain, or sealant, to protect and enhance the appearance of your DIY desk. Ensure that the finishing materials align with your aesthetic preferences and the overall style of your workspace.
III. Tools and Equipment
To embark on your DIY desk project, gather the necessary tools and equipment. Essential items include:
A. Measuring Tape and Square: Accurate measurements are key to a well-fitted desk. A measuring tape and square will help ensure precision in your cuts and assembly.
B. Saw: Depending on your material choices, you may need a circular saw, jigsaw, or handsaw for cutting the desk surface and other components.
C. Drill and Screwdriver: A power drill and screwdriver are essential for creating holes for screws and assembling various parts of your DIY desk.
D. Sandpaper: Smooth out rough edges and surfaces using sandpaper. This step is crucial for achieving a polished and professional finish.
E. Safety Gear: Always prioritize safety. Wear protective gear such as safety glasses and gloves to prevent injuries during the construction process.
Read Also: Dangote Earns N313.2bn in 24 Hours After Losing N5.6 Billion Overnight
IV. Design and Construction
A. Sketch Your Design: Before making any cuts or assembling components, create a detailed sketch of your desk design. Include dimensions, the placement of legs, and any additional features such as drawers or shelves.
B. Cut and Assemble the Desk Surface: Using the measurements from your sketch, cut the desk surface material to the desired dimensions. If your design includes multiple pieces, ensure they fit together seamlessly. Assemble the desk surface, securing the pieces with screws.
C. Attach Legs and Frame: Attach the chosen legs and frame to the desk surface. Ensure they are securely fastened for stability. This is a critical step in the construction process, so take your time to align everything properly.
D. Finishing Touches: Once the main structure is assembled, apply the chosen finishing materials. Whether you opt for a vibrant paint color, a classic wood stain, or a protective sealant, make sure to follow the manufacturer’s instructions for optimal results.
V. Customization Options
A. Cable Management: Incorporate smart cable management solutions into your DIY desk to keep wires organized and prevent clutter. Consider using cable clips, grommets, or built-in cable channels to maintain a clean and tidy workspace.
B. Storage Solutions: If your work requires additional storage, consider integrating drawers, shelves, or organizational accessories into your desk design. Customized storage solutions will help keep your workspace organized and efficient.
C. Personal Touches: Add personal touches to make your DIY desk uniquely yours. This could include decorative elements, a corkboard for notes and inspiration, or even a custom-built monitor stand.
VI. Maintenance and Care
To ensure the longevity of your DIY desk, follow these maintenance tips:
A. Regular Cleaning: Dust and clean your desk regularly to maintain its appearance. Use a soft cloth or a gentle cleaning solution suitable for the chosen finishing materials.
B. Preventative Measures: Avoid placing hot items directly on the desk surface and use coasters for drinks to prevent damage. Be cautious with sharp objects to avoid scratching the surface.
C. Address Issues Promptly: If you notice any issues such as loose screws or wear and tear, address them promptly. Regular maintenance will extend the life of your DIY desk.
Read Also: Guide on Environmental Management Tips for Reducing Waste
