Ever dreamt of giving your car a fresh, vibrant look that screams “you”? Well, buckle up because we’re about to explore how to DIY paint a car. Painting your own car might sound like a daunting task, but fear not – with a bit of guidance and the right approach, you can turn your vehicle into a personalized work of art.
Whether you want to add a pop of color, fix those pesky scratches, or just express your creativity on four wheels, this beginner-friendly guide has got you covered. We’ll break down the process into simple steps, provide practical tips, and share relatable examples to make sure your DIY painting journey is smooth, enjoyable, and, most importantly, successful.
From understanding the basics of surface preparation to choosing the right tools and materials, we’ll walk you through each step in a language that won’t make your head spin. Imagine it as a fun project – like giving your car a makeover that reflects your personality. It’s not just about slapping on some paint; it’s about creating a statement, a visual representation of you on the road.
So, whether you’re a complete novice or just looking to brush up on your DIY skills, join us on this automotive adventure. By the end of this guide, you’ll be equipped with the knowledge to confidently wield a spray gun, choose the perfect paint, and turn your car into a rolling canvas that turns heads and tells a story. Ready to rev up your creativity? Let’s get those wheels turning!
Read also: DIY Jewelry: Unleashing Your Creativity
How to DIY Paint a Car

1. Understanding the Basics
A. The Importance of Preparation
Before you even think about picking up a paintbrush, it’s crucial to understand the significance of preparation. Proper preparation ensures that your paint job is not only aesthetically pleasing but also durable and long-lasting. Begin by thoroughly cleaning your car, removing dirt, grime, and any existing wax. A mixture of soap and water works wonders, followed by a gentle wipe-down with a wax and grease remover.
B. Assessing the Surface
Carefully inspect the surface of your car for any imperfections such as rust, dents, or scratches. These issues must be addressed before painting to achieve a smooth and flawless finish. Small dents can be filled with body filler, while rust spots should be treated with a rust converter.
C. Choosing the Right Workspace
Selecting an appropriate workspace is essential for a successful DIY car painting project. Ideally, choose a well-ventilated area with minimal dust and debris. A garage with controlled lighting and temperature is preferable, as it provides a controlled environment for the painting process.
2. Gathering Your Tools and Materials
A. Essential Tools
Before you dive into the world of DIY car painting, ensure you have the necessary tools at your disposal. This includes sandpaper (in various grits), masking tape, plastic sheeting, a spray gun, air compressor, and a respirator mask for your safety.
B. Selecting the Right Paint
Choosing the right paint is a critical decision that influences both the aesthetic and durability of your car’s finish. Acrylic enamel, urethane, and lacquer are common types of automotive paints. Consider factors such as budget, ease of application, and long-term durability when making your selection.
C. Primers and Sealers
Priming is a crucial step that provides a smooth base for the paint and enhances adhesion. Select a high-quality automotive primer suitable for your chosen paint type. Additionally, use a sealer to prevent any chemical reactions between the existing paint and the new coat.
3. Step-by-Step Painting Process
A. Sanding
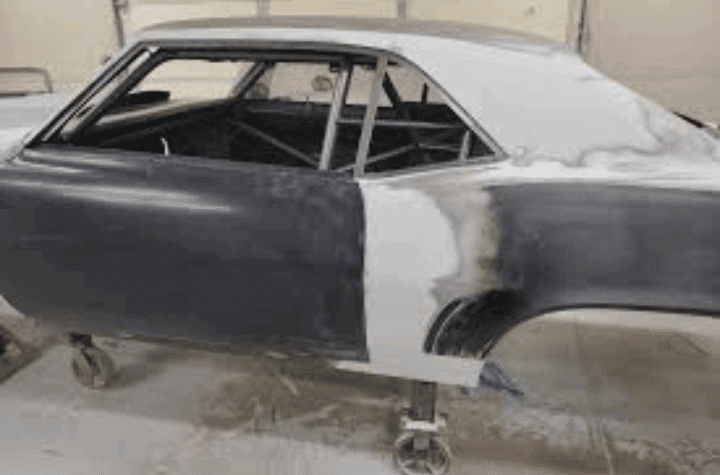
Begin the painting process by sanding the entire surface of your car. This step helps in removing imperfections, creating a smooth surface, and promoting paint adhesion. Start with coarse sandpaper and progressively move to finer grits until you achieve the desired smoothness.
Example: Imagine your car’s surface as a canvas. Just as an artist meticulously prepares their canvas, you’re smoothing out the rough spots to create the perfect backdrop for your automotive masterpiece.
B. Masking
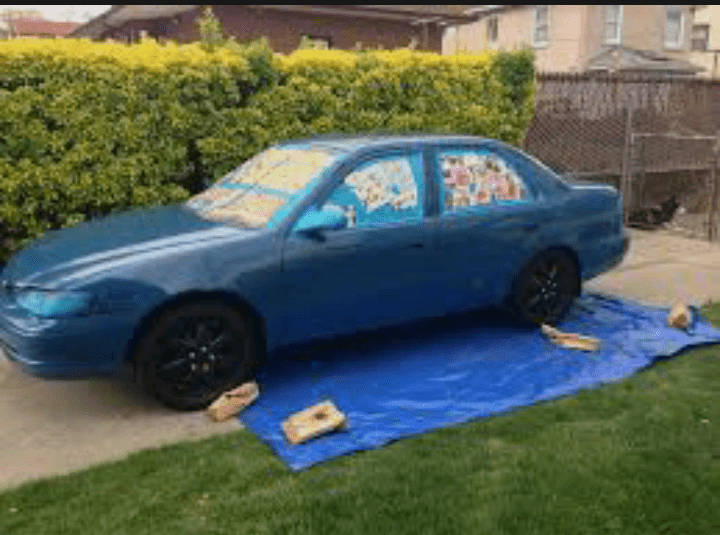
Masking is a technique that protects certain areas of your car from unwanted paint overspray. Use high-quality automotive masking tape and plastic sheeting to cover windows, trim, and other parts that shouldn’t be painted.
Example: Think of masking as outlining the edges of your canvas. It ensures that your paint stays within the intended boundaries, just like an artist’s careful strokes.
C. Applying Primer
Once your car is sanded and masked, apply a thin, even coat of automotive primer. This serves as the foundation for your paint and promotes better adhesion. Allow the primer to dry completely before proceeding to the next step.
Example: Picture the primer as the underpainting in a traditional art piece – it sets the tone and prepares the canvas for the layers of color that will follow.
D. Base Coat Application
Now comes the exciting part – applying the base coat. Load your spray gun with the chosen automotive paint and apply it evenly in smooth, overlapping strokes. Multiple thin coats are preferable to a single thick coat for a professional finish.
Example: Your base coat is akin to the main colors on an artist’s palette. It establishes the overall tone and sets the stage for the details and highlights to come.
E. Adding Clear Coat
To protect the base coat and provide a glossy finish, apply a clear coat. This final layer enhances the visual appeal of your car and shields it from environmental elements. Just like the varnish on a painting, the clear coat adds that finishing touch.
Example: Clear coat is like the protective layer an artist applies to their finished masterpiece. It preserves the colors and ensures the artwork’s longevity.
Read also: DIY Floating Shelf: Elevate Your Space with a Touch of Craftiness
4. Finishing Touches and Aftercare
A. Curing and Drying
Allow your car to dry thoroughly between each coat to achieve the best results. Follow the recommended drying times for the primer, base coat, and clear coat. This step is crucial for preventing imperfections and ensuring a durable finish.
B. Wet Sanding and Buffing
After the paint has cured, wet sand the surface using fine grit sandpaper to eliminate any imperfections or orange peel texture. Follow this with buffing to bring out the shine in your freshly painted car.
Example: Think of wet sanding and buffing as the meticulous touch-ups an artist makes to refine their masterpiece. It’s the attention to detail that elevates the final result.
C. Reassembly
Once you’re satisfied with the finish, carefully remove the masking tape and plastic sheeting. Reassemble any parts that were temporarily removed, such as mirrors or trim pieces. Take your time during this step to ensure everything fits back together seamlessly.
Example: Reassembly is like framing an artwork – it completes the presentation, showcasing your car’s new look in its entirety.
D. Post-Painting Care
To maintain the vibrancy of your newly painted car, practice regular maintenance. Wash your car with a mild soap, avoid abrasive cleaning materials, and park it in a shaded area when possible. This ensures that your DIY paint job remains a source of pride for years to come.
5. Troubleshooting and Common Pitfalls
A. Dealing with Runs and Drips
If you encounter runs or drips in your paint job, don’t panic. Allow the paint to dry completely, then carefully sand the affected area with fine grit sandpaper. Once smoothed out, reapply a thin coat of paint.
Example: Consider runs and drips as the equivalent of an artist’s accidental brushstroke. With a bit of patience and correction, the final result can still be stunning.
B. Addressing Orange Peel Texture
Orange peel texture is a common issue in DIY car painting. To remedy this, wet sand the affected area with fine grit sandpaper and buff it to achieve a smooth finish. Adjusting your spray gun settings and technique during the next coat can prevent this issue in the future.
Example: Think of orange peel texture as a texture in a painting that wasn’t initially intended. With careful adjustments, you can smooth it out and achieve the desired result.
Read also: Waste To Fertilizer: What You Need to Know
