Google Docs is one of the most practical tools for creating, editing, and sharing documents online. Its ease of use makes it perfect for beginners, while its advanced features support professional and academic work. Whether you are writing an essay, drafting a report, collaborating with a team, or taking notes, Google Docs offers everything you need in one place.
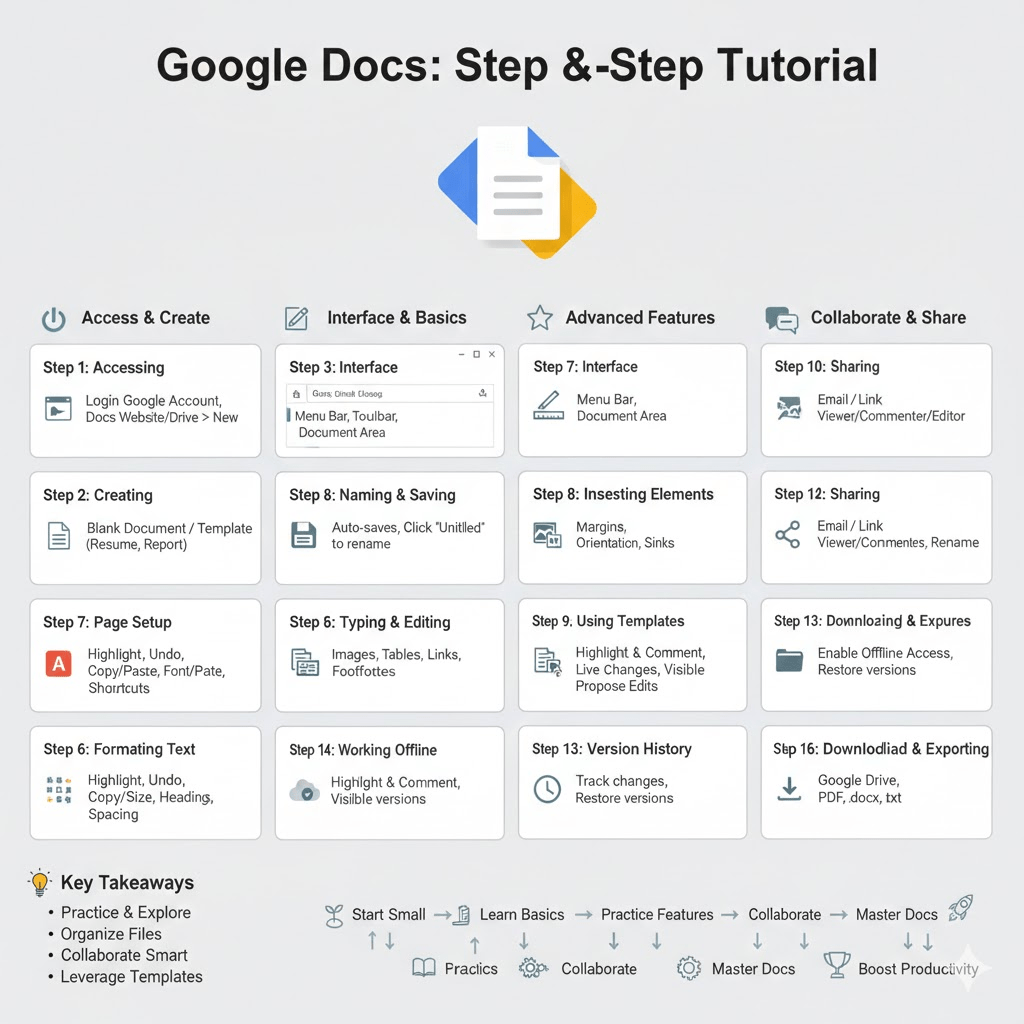
This step-by-step tutorial walks you through how to use Google Docs from the very beginning. It explains each stage clearly, from opening your first document to collaborating with others and exporting your work. By the end of this guide, you will feel confident using Google Docs efficiently and professionally.
Step 1: Accessing Google Docs
To use Google Docs, you need a Google account. If you already use Gmail or any other Google service, you can access Google Docs immediately.
You can open Google Docs in two main ways:
- By visiting the Google Docs website directly
- Through Google Drive by clicking the “New” button and selecting Google Docs
Once opened, you will see the Google Docs homepage, where you can create new documents or open existing ones.
Step 2: Creating a New Document
When you are on the Google Docs homepage, you will see options to start a new document.
You can choose:
- A blank document if you want full control over formatting
- A pre-designed template such as a resume, report, or letter
Clicking any option instantly opens a new document. There is no loading delay, and your document is ready for editing immediately.
Step 3: Understanding the Google Docs Interface
Before you start typing, it helps to understand the layout of Google Docs.
The Menu Bar
The menu bar is located at the top of the screen and contains important options such as File, Edit, View, Insert, Format, and Tools. These menus allow you to manage document settings, formatting, and collaboration features.
The Toolbar
The toolbar sits below the menu bar and provides quick access to commonly used tools. These include font selection, text size, alignment, line spacing, and list options.
The Document Area
The main white space is where you write your content. It behaves like a traditional word processor, allowing you to click anywhere and start typing.
Step 4: Naming and Saving Your Document
Google Docs automatically saves your work, so there is no save button. However, naming your document is important for organization.
At the top-left corner, click on “Untitled document” and type a meaningful name. The document name updates instantly and is saved in Google Drive.
Automatic saving ensures that you never lose your work, even if your internet connection drops briefly.
Step 5: Typing and Editing Text
Typing in Google Docs is straightforward. You can enter text just like you would in any word processor.
Editing tools include:
- Highlighting text to modify or delete
- Using undo and redo options
- Copying and pasting content
- Using keyboard shortcuts to speed up your workflow
Google Docs responds quickly, making editing smooth even for long documents.
Step 6: Formatting Text Properly
Formatting improves readability and professionalism.
Basic Text Formatting
You can apply basic formatting such as bold, italics, underline, and text color using the toolbar. Adjusting font style and size helps structure your content visually.
Read Also: Best Online Side Hustles with Global Income Potential
Using Headings
Headings are essential for organizing longer documents. Google Docs provides heading styles that allow you to separate sections clearly.
Using headings also enables:
- Automatic table of contents
- Better navigation within long documents
- Improved readability
Paragraph Spacing and Alignment
You can control line spacing, paragraph spacing, and text alignment to ensure your document looks clean and balanced.
Step 7: Adjusting Page Setup
If your document needs to meet specific formatting requirements, page setup is important.
Through the page setup menu, you can:
- Change page size
- Adjust margins
- Switch between portrait and landscape orientation
This is especially useful for printing or submitting formal documents.
Step 8: Inserting Elements into Your Document
Google Docs allows you to add various elements beyond plain text.
Inserting Images
You can add images from your computer, Google Drive, or online sources. Once inserted, images can be resized and positioned to fit your layout.
Adding Tables
Tables help organize data clearly. You can insert tables with customizable rows and columns and adjust borders and alignment.
Links and Footnotes
Hyperlinks allow you to reference websites or other documents. Footnotes are useful for academic or research writing, keeping references separate from the main text.
Step 9: Using Templates for Faster Work
Templates save time by providing ready-made layouts. Google Docs includes templates for resumes, reports, project proposals, and more.
Templates are especially helpful for beginners because they:
- Reduce formatting effort
- Provide professional structure
- Help maintain consistency
You can edit templates freely to match your needs.
Step 10: Sharing Your Document
Sharing is one of the most powerful features of Google Docs.
To share a document, click the “Share” button at the top-right corner. You can invite people by email or generate a shareable link.
You can control what others can do by assigning permission levels:
- Viewer for read-only access
- Commenter for feedback
- Editor for full editing access
This ensures you maintain control while collaborating.
Step 11: Collaborating in Real Time
Google Docs allows multiple users to work on the same document simultaneously.
When others join:
- Their cursor appears in a different color
- Changes show instantly
- Comments and suggestions can be added without altering the main text
This eliminates the need to send documents back and forth, making teamwork faster and more efficient.
Step 12: Using Comments and Suggestion Mode
Comments are useful for feedback and discussion. You can highlight text and leave comments without editing the content.
Suggestion mode allows collaborators to propose edits that can later be accepted or rejected. This is ideal for reviews and approvals.
Both tools improve clarity and communication, especially in group projects.
Step 13: Tracking Changes with Version History
Google Docs automatically keeps track of all changes made to a document.
You can view version history to:
- See who made changes
- Restore previous versions
- Track progress over time
Version history provides peace of mind and accountability in collaborative work.
Step 14: Working Offline
Google Docs can be used offline if you enable offline access.
This feature allows you to:
- Edit documents without internet
- Continue working while traveling
- Sync changes automatically when reconnected
Offline access ensures productivity even in unstable network conditions.
Step 15: Organizing Documents in Google Drive
All Google Docs files are stored in Google Drive. Organizing them properly saves time and reduces confusion.
You can:
- Create folders
- Move documents between folders
- Rename files for clarity
A well-organized Drive improves workflow, especially when managing many documents.
Step 16: Downloading and Exporting Documents
Once your document is complete, you may need to share it in different formats.
Google Docs allows you to download documents as:
- PDF files
- Word-compatible documents
- Plain text files
This ensures compatibility with different platforms and users.
Google Docs vs Traditional Word Processors
The table below highlights key differences between Google Docs and desktop word processors.
| Feature | Google Docs | Traditional Word Processors |
|---|---|---|
| Cost | Free | Often paid |
| Saving | Automatic | Manual |
| Collaboration | Real-time | Limited |
| Accessibility | Any device | Device-specific |
| Updates | Automatic | Manual |
Common Beginner Mistakes to Avoid
Many beginners underuse Google Docs by ignoring its advanced features. Not using headings, failing to organize files, and improper sharing settings are common mistakes.
Another frequent issue is relying only on basic typing and overlooking tools like comments, version history, and templates.
Learning these features early improves efficiency and document quality.
Frequently Asked Questions (FAQ)
Is Google Docs suitable for professional use?
Yes. Google Docs is widely used by businesses, educators, and professionals. It supports formal formatting, collaboration, and secure file sharing.
Can I use Google Docs without installing software?
Yes. Google Docs runs entirely in a web browser. There is no software installation required.
Does Google Docs automatically save changes?
Yes. All changes are saved automatically as you work, reducing the risk of data loss.
Can Google Docs handle large documents?
Yes. Google Docs can manage long documents efficiently, especially when headings and structured formatting are used.
Is Google Docs safe for sensitive information?
Google Docs offers strong security features and access controls. Users should still manage sharing permissions carefully.
Google Docs is a powerful yet beginner-friendly tool that simplifies document creation and collaboration. By following this step-by-step tutorial, you can move from basic typing to advanced document management with confidence.
Understanding how to format text, collaborate effectively, organize files, and export documents will help you use Google Docs efficiently in any personal, academic, or professional setting. With consistent use, it becomes an essential productivity tool that adapts to your needs and grows with your skills.
Do you have any questions, suggestions, or contributions? If so, please feel free to use the comment box below to share your thoughts. We also encourage you to kindly share this information with others who might benefit from it. Since we can’t reach everyone at once, we truly appreciate your help in spreading the word. Thank you very much for your support and for sharing!
Read Also: Top 20 Funniest Wild Animal Moments Caught on Camera