Strangely, potato farming often seem to get overlooked when it comes to growing a vegetable garden. Apparently, some are under the impression that there’s really no reason to grow them as they’re fairly inexpensive to buy, and, after all, how much difference can there really be in taste?
But that couldn’t be more wrong. Strangely, potato farming often seem to get overlooked when it comes to growing a vegetable garden.
Apparently, some are under the impression that there’s really no reason to grow them as they’re fairly inexpensive to buy, and, after all, how much difference can there really be in taste?
According to the Environmental Working Group, the average potato has been shown to contain more pesticides by weight than any other produce.
Plus, those commercially grown spuds can easily be a year old by the time they get to your local supermarket. That’s why when you get them home, they usually last only a few weeks before they start sprouting.
So, what you’re eating is a much less than fresh vegetables. But, if you grow your own and store them properly, potatoes can last for months, while still being fresher than those you bought at the store.
As with most things, homegrown potatoes really do taste significantly better too.
Read Also: 10 Unknown Health Benefits of Potatoes
While potatoes are often thought of as simply a comfort food, they actually offer a lot in the way of nutrition.
Just some of their benefits including lowering the risk of cancer, boosting heart health, improving digestion, lowering cholesterol levels, strengthening the immune system, protecting the skin, lowering blood pressure, reducing insomnia and managing diabetes.
Not only that, but it’s fairly easy to grow sacks full of potatoes. And, when it comes to potatoes, it’s hard to have too many as they can be held fresh in a cool spot for months.
Of course, there are many different ways to grow them too, some of which are rather unusual, but they really do work!
1) Potato farming made easy – 100 Pounds of Potatoes in just 4 Square Feet

An article published in the Seattle Times a few years back discussed growing a whopping 100 pounds of potatoes in just four square feet.
All you need for this technique is some lumber, seed potatoes, gardening soil, and of course, plenty of love and care is shown below as well.
Read Also: Comprehensive Snail Farming Guide
The recommended planting time is anywhere as early as April, and as late as August 1st, and it takes about three months before harvest. A few tips for utilizing this technique include:
Tips
- Cut apart the larger seed potatoes, and ensuring that there are at least two eyes in each part you plant.
- Dusting the cut pieces with first will help seal the open ends from bacteria.

Read Also: Economic Importance of Fish and Fish Products
The Method
One week before planting, place your seed potatoes in a warm spot. When sprouts that are about one-quarter-inch to one-half-inch form, they’re about ready to plant.
Cut large seed potatoes into chunks that are approximately two inches wide. Each piece should have at least two sprouts. After cutting the seed potatoes, allow them to sit at room temperature for three days.
Using a pair of scissors, cut a few drainage holes in the bottom of a 30-gallon plastic trash bag. Roll the sides of the bag down and fill it with about one-third potting soil.
Now, place the trash bag in an area of your garden that gets full sun.
To plant your seed potatoes, first, dust them with agricultural sulfur to protect them against fungal disease. Plant them by burying them with the eyes pointed up about two inches deep in the soil. Water thoroughly.
When your potato plants are six to eight inches tall, add more soil and straw to the bag. There should be just enough soil so that the top few leaves are poking through it.
As they continue to grow, keep unrolling the trash bag and adding more soil accordingly. They should stay well watered, but not soggy.
Now the fun part: harvest time. One clue that your potatoes are about ready for harvesting is that the leaves will yellow and the foliage will die back.
At this point, you should stop watering and simply leave them alone for a few weeks so that the skins toughen up. To harvest, slit open the side of the bag and release the potatoes.
Read Also: List of Top Iron-Rich Foods Your Body Needs
2) Commercial Grow Bags

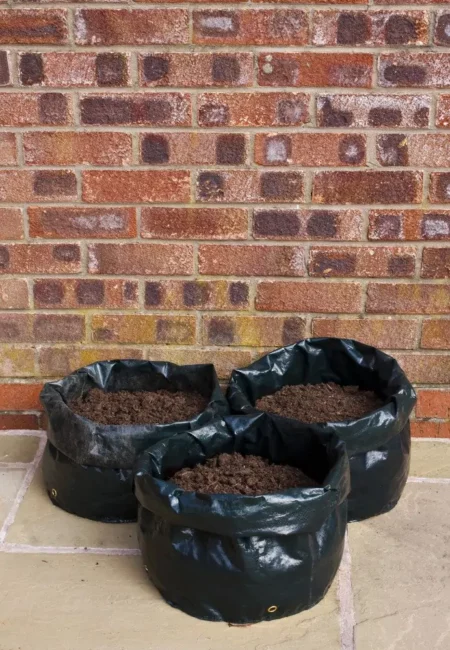
You can also use commercial grow bags, which are made from heavy, dense polypropylene.
While they are a little more expensive than trash bags, they typically last for several growing seasons. You can buy a five pack of potato grow bags from our Market Place from your local vendor while some more options are presented below.
To use them, just place a few inches of a soil-compost mixture in the bottom of a bag, then plant four seed potato pieces. Cover them up with three inches of soil. Continue adding soil as the potato plants grow until the bag is completely filled.
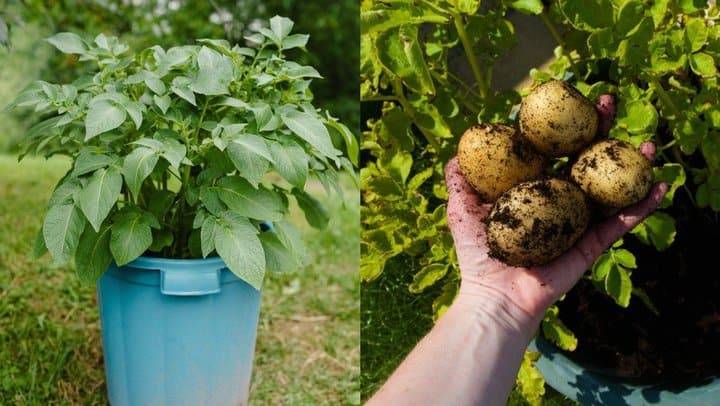
To harvest, all you have to do is turn the bag on its side and dump out the contents. Considering the relatively small space, the yield is usually quite impressive.
Read Also: Complete Guide to the Best Lawn Soils (Sandy Soil, Clay Soil, Loam Soil, Silt Soil)
3) Planting in the Ground with Straw Mulch

This method is one of the easiest around if you’ve got some room in your garden.
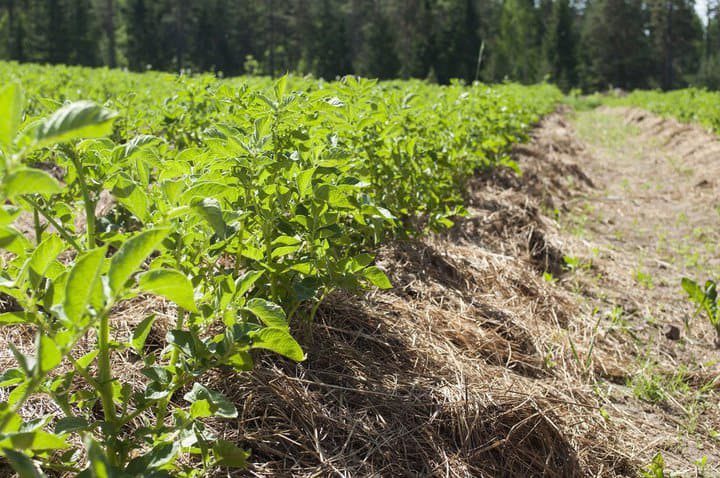
All you have to do is place your seed potatoes on the surface of prepared garden soil, about 8 to 12 inches apart. You can cut the larger ones if you want to, but it’s not necessary.
Now, cover them with three to four inches of loose straw. Once the stems grow to about 8 inches tall, add a little more straw.
Continue to do so until the plants are around 3 feet high and you’ve got a layer of at least one foot of depth. When the tops start to die off, it’s time to harvest.
See you next for the remaining section of potato farming.
Read Also: Complete Guide on How to Make Meat Pie
