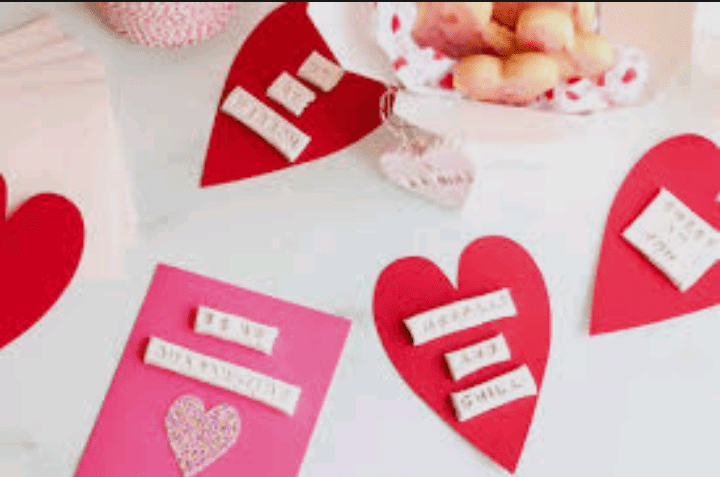
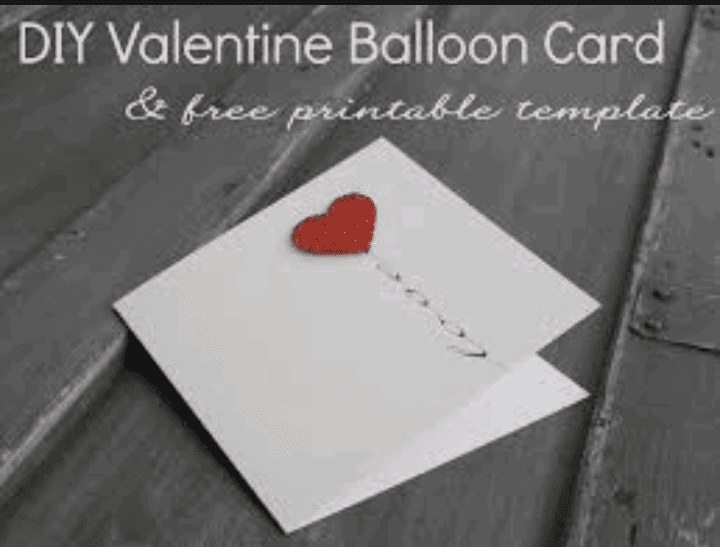
Valentine’s Day, a celebration of love and affection, beckons us to express our feelings in the most thoughtful and personal ways. In the age of digital communication, the timeless charm of a handmade card speaks volumes. This article is a heartfelt guide to the art of crafting DIY Valentine’s Day cards, where we embark on a journey to infuse love, creativity, and personal touches into tangible expressions of affection.
DIY Valentine cards are not just about paper, glue, and scissors; they are about creating moments that linger in the heart. In this simple yet comprehensive exploration, we’ll delve into the basics of creating these personalized tokens of love. From selecting the right materials to employing creative techniques, this guide is your companion to making Valentine’s Day truly special for your loved ones.
Imagine the joy on your partner’s face as they receive a card crafted with your hands, filled with sentiments that go beyond words. These DIY creations are more than just cards; they are a manifestation of the time, thought, and effort you invest in celebrating the uniqueness of your relationship.
But where do you begin? We start by understanding the purpose of DIY Valentine’s Day cards – they are not just pieces of paper; they are conduits for emotions. With a heartwarming card, you have the power to convey love, appreciation, and warmth in a tangible form. As you read on, we’ll guide you through the essential materials and tools, ensuring you’re well-prepared for your crafting journey.
Choosing a theme is the first step in designing your DIY Valentine’s Day card. Whether it’s a romantic gesture, a shared interest, or a simple “I love you,” the theme sets the tone for the entire creation. We’ll discuss various design formats, such as the classic fold-over card, pop-up cards, and even interactive cards, letting you choose the perfect canvas for your expression of love.
Beyond the basics, we’ll explore crafting techniques like hand lettering, collage, embossing, watercolor painting, and quilling. These techniques not only add visual appeal but also create a unique and personal touch that transforms your DIY card into a cherished keepsake.
So, let’s embark on this creative journey together. Gather your materials, let your imagination run wild, and discover the joy of crafting DIY Valentine cards that speak volumes in the language of love.
Read also: How to Change a Light Fixture
DIY Valentine Cards

1: Getting Started
A. Purpose of DIY Valentine’s Day Cards
Understanding the essence of Valentine’s Day cards is crucial before embarking on the crafting journey. DIY cards offer a personal touch, allowing you to convey your emotions in a unique and memorable way. They serve as tangible expressions of love, admiration, and appreciation for the special people in your life.
B. Materials and Tools
Before going into the creative process, gather the necessary materials and tools. A well-equipped crafting space should include:
- Cardstock or quality paper
- Scissors
- Glue or double-sided tape
- Markers, colored pencils, or pens
- Stamps and ink pads
- Decorative elements (ribbons, buttons, stickers)
- Envelopes
Having these materials at your disposal ensures a smooth and enjoyable card-making experience.
2: Designing Your DIY Valentine’s Day Cards
A. Choosing a Theme
Start by selecting a theme that resonates with the recipient. Whether it’s a romantic theme, a funny anecdote, or a shared interest, the theme sets the tone for the entire card.
B. Card Formats
Consider the format of your card. Popular choices include traditional fold-over cards, pop-up cards, and even interactive cards with hidden messages. The format should complement the chosen theme and the recipient’s personality.
C. Incorporating Personal Touches
Personalization is key in DIY Valentine’s Day cards. Include elements that hold sentimental value, such as inside jokes, shared memories, or references to special moments in your relationship. This personal touch adds a layer of emotional depth to the card.
3: Crafting Techniques
A. Hand Lettering
Mastering the art of hand lettering adds elegance and a personal touch to your DIY cards. Experiment with different fonts, sizes, and styles to find a lettering technique that suits the overall design.
B. Collage
Create visually stunning cards by incorporating collage techniques. Collect images, clippings, and small mementos that reflect the theme and arrange them creatively on the card.
C. Embossing
Embossing adds a tactile and sophisticated element to your cards. Invest in embossing powders, a heat tool, and embossing stamps to create raised, glossy designs on your cardstock.
D. Watercolor Painting
For a soft and artistic touch, experiment with watercolor painting. Use subtle hues to create a dreamy background or incorporate watercolor elements into your overall design.
E. Quilling
Quilling involves rolling thin strips of paper into various shapes to create intricate designs. This technique adds a three-dimensional aspect to your cards, making them visually striking.
Read also: How to Refinish Furniture
4: Step-by-Step DIY Valentine’s Day Card Tutorials
A. Classic Fold-Over Card
Start with a blank piece of cardstock and fold it in half to create the classic fold-over card. Use markers, colored pencils, or pens to draw or write your personalized message. Add embellishments and decorative elements to enhance the visual appeal.
B. Pop-Up Card
For a more interactive experience, try creating a pop-up card. Begin with a folded card and cut slits along the fold. Carefully fold the cut sections to create a 3D effect when the card is opened. Decorate the pop-up elements with your chosen theme.
C. Embossed Elegance
Embossing adds a touch of sophistication to your cards. Stamp your chosen design onto the cardstock using embossing ink, sprinkle embossing powder over the stamped area, and use a heat tool to set the powder, creating a raised and glossy effect.
D. Watercolor Romance
Create a watercolor background by wetting the cardstock with a brush and applying watercolor paint in gentle strokes. Once dry, add your design elements using pens or markers. The combination of watercolor and fine details creates a beautifully balanced card.
E. Quilled Delight
Experiment with quilling by rolling thin paper strips into coils and shaping them into various designs. Glue the quilled elements onto your card to create intricate patterns and textures. Quilling adds a unique and eye-catching dimension to your DIY Valentine’s Day card.
5: Tips and Tricks
A. Experiment with Materials
Don’t be afraid to explore different materials and textures. Incorporating fabric, lace, or even recycled materials can add an eclectic and environmentally friendly touch to your cards.
B. Precision Matters
Pay attention to details, especially when cutting and gluing. Precision enhances the overall quality of your DIY card and showcases the effort you’ve invested in creating a thoughtful piece.
C. Test Before Finalizing
Before applying permanent elements to your card, conduct test runs on scrap paper. This helps you refine your design, test color combinations, and ensure that the final product meets your expectations.
D. Consider Presentation
Presentation matters as much as the card itself. Choose a complementary envelope, and consider adding a handwritten note or a small token of affection to accompany your DIY masterpiece.
Read also: Operation and Maintenance of Grit
