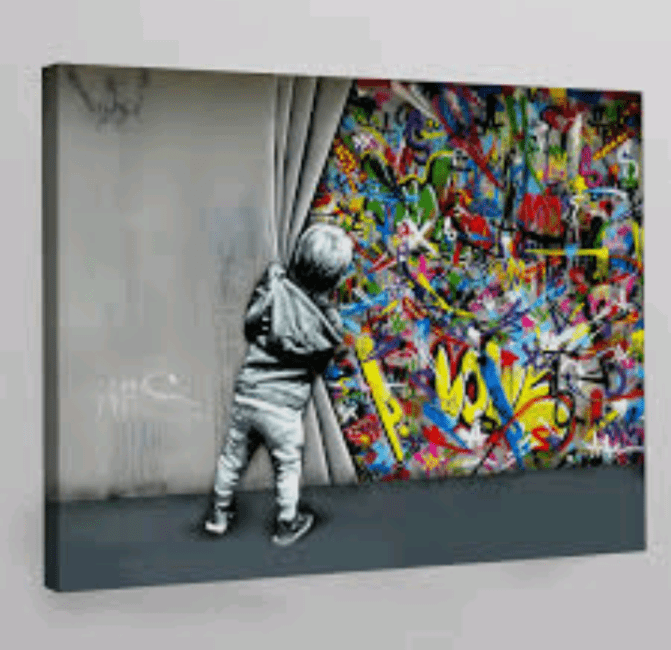
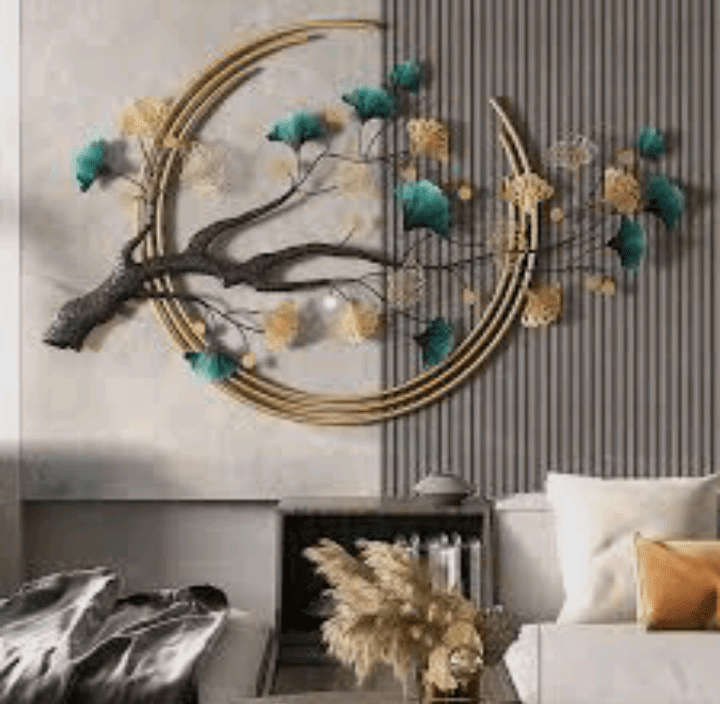
DIY wall art brings the power of personal expression into your living space, offering an accessible and enjoyable way to transform your walls into a canvas of creativity. In a world filled with mass-produced decor, creating your own wall art allows you to infuse your personality and style into every brushstroke or carefully chosen element.
Whether you’re an experienced artist or someone dipping their toes into the world of creativity for the first time, the magic of DIY wall art lies in its simplicity and adaptability.
With a myriad of materials and techniques at your fingertips, the possibilities are endless. From abstract paintings that evoke emotions to collages of personal memories, DIY wall art lets you explore your artistic side in a way that’s uniquely yours. You don’t need to be a master of the craft – imperfections are not only welcome but celebrated, turning each piece into a reflection of your journey and creativity.
In this guide, we’ll go into the basics of DIY wall art, exploring the essential materials and tools, unleashing your inner artist, and discovering various techniques to suit every style and skill level. We’ll also discuss budget-friendly options, collaborative projects, and practical tips for showcasing and maintaining your creations.
So, whether you’re looking to revitalize your living room, create a serene atmosphere in your bedroom, or simply infuse more personality into your space, join us on this creative journey of self-expression through the world of DIY wall art.
Read also: Gnat Trap DIY: A Simple Solution to Banish Pesky Gnats
DIY Wall Art

1: Understanding the Essence of DIY Wall Art
A. The Personal Touch: DIY wall art isn’t just about saving money; it’s about infusing your living space with your unique personality. Whether you’re a seasoned artist or a complete novice, there’s a DIY project for everyone.
B. Breaking Down Barriers: Many people hesitate to embark on DIY projects due to perceived complexity. However, the beauty of DIY wall art lies in its accessibility. From simple projects that require minimal artistic skills to intricate endeavors demanding creativity, the possibilities are vast.
2: Exploring Basic Materials and Tools
A. Canvas and Beyond: Canvas is a classic medium, but don’t let tradition limit your creativity. Consider alternative materials like reclaimed wood, fabric, or even repurposed items from around your home.
B. Essential Tools: Arm yourself with the basic tools necessary for any DIY project, such as paintbrushes, acrylic paints, a cutting mat, utility knife, and adhesives. Having a well-stocked toolkit ensures you’re ready for any creative endeavor.
3: Unleashing Your Inner Artist
A. Embracing Imperfections: The beauty of DIY art lies in its imperfections. Embrace mistakes as part of the creative process, and don’t be afraid to experiment with colors, textures, and techniques.
B. Finding Inspiration: Inspiration can come from anywhere. Explore nature, culture, or even your own memories for ideas. Pinterest, Instagram, and art blogs are also treasure troves of inspiration, providing a wealth of examples that can kickstart your creativity.
4: Techniques for DIY Wall Art
A. Abstract Painting: Dive into the world of abstract art, where the only limit is your imagination. Experiment with bold strokes, vibrant colors, and layering to create visually stunning pieces that evoke emotion.
B. Stenciling and Silhouettes: For those who prefer a more structured approach, stenciling and silhouettes offer a precise and visually striking way to create DIY wall art. Choose a theme, find a stencil, and let your walls tell a story.
5: Incorporating Mixed Media
A. Collage Creations: Mix and match materials to create eye-catching collages. Old magazines, fabric scraps, and even elements from nature can be combined to form unique and visually engaging pieces.
B. Textured Tapestry: Elevate your DIY wall art by adding texture. Incorporate elements like fabric, beads, or even small trinkets to create a tactile experience that captivates both the eyes and hands.
Read also: DIY Raised Garden Bed: Your Gateway to Green Thumbs
6: Customizing for Different Spaces
A. Living Room Elegance: The living room is often the focal point of a home. Consider large-scale pieces or a gallery wall to make a statement. Match your DIY art to the color scheme and ambiance of the room.
B. Bedroom Bliss: Bedrooms are intimate spaces, making them perfect for more personal and emotionally resonant pieces. Create art that reflects your passions, dreams, or favorite memories to turn your bedroom into a sanctuary.
7: Budget-Friendly DIY Wall Art
A. Thrift Store Treasures: Unleash your creativity without breaking the bank by repurposing thrift store finds. Old frames, mirrors, or even furniture can be transformed into stunning pieces of wall art with a little ingenuity.
B. Upcycled Art: Reduce your environmental impact by upcycling old items into art. From turning discarded pallets into a rustic masterpiece to repurposing worn-out clothing into a textile wall hanging, the possibilities are endless.
8: Collaborative and Family-Friendly Projects
A. Family Masterpieces: Get the whole family involved in the creative process. Create a collaborative piece where each family member contributes a section, resulting in a unique masterpiece that holds sentimental value.
B. DIY Art Parties: Turn the creation of wall art into a social event. Host a DIY art party with friends or family, providing a space for shared creativity and the exchange of ideas.
9: Showcasing and Installing Your DIY Wall Art
A. Framing Strategies: Proper framing enhances the overall impact of your DIY wall art. Explore various framing options, from traditional frames to floating frames, and choose one that complements your creation.
B. Arranging a Gallery Wall: Gallery walls offer a dynamic way to showcase multiple pieces. Experiment with different layouts, sizes, and frames to create a visually appealing arrangement that transforms your wall into a curated masterpiece.
10: Maintenance and Longevity
A. Protecting Your Creation: Preserve the beauty of your DIY wall art by taking precautions against dust, moisture, and fading. Apply a clear sealant to protect painted surfaces and choose appropriate materials for long-lasting durability.
B. Adapting Over Time: The wonderful thing about DIY wall art is its adaptability. As your style evolves or your living space undergoes changes, your DIY creations can be updated or replaced, ensuring that your walls remain a canvas for your evolving self-expression.
Read also: Incineration Process, Incinerators and their Types
