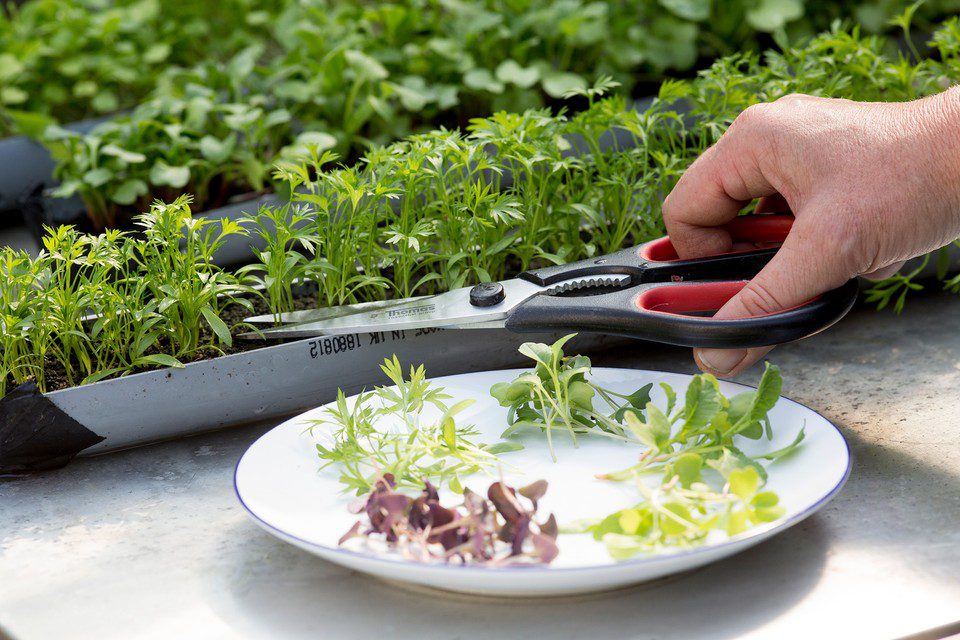
Growing microgreens is a fascinating and rewarding endeavor that allows you to cultivate nutrient-dense greens in a small space, often right in your own home. Microgreens are the young, edible seedlings of various herbs and vegetables. In this guide, I’ll provide you with a detailed step-by-step approach to successfully grow microgreens.
Step 1: Select Your Microgreens
Begin by choosing the microgreens you want to grow. Popular options include arugula, basil, cilantro, radishes, and mustard greens. Select varieties that appeal to your taste and have a relatively short growth cycle, as microgreens are typically ready to harvest in just a few weeks.
Step 2: Gather Your Supplies
You will need the following items:
• Seeds of your chosen microgreens
• A shallow container or tray with drainage holes
• Potting mix or a soilless growing medium
• Spray bottle for watering
• Plastic wrap or a humidity dome (optional)
Step 3: Prepare Your Growing Container
Fill the container with the potting mix, leaving about half an inch of space at the top. Ensure the soil is evenly distributed and gently press it down to create a firm, level surface.
Read Also: Biomedical Waste Recycling and Reuse Process
Step 4: Sow Your Seeds
Sprinkle the microgreen seeds evenly over the soil surface. The density of seeding depends on the variety but, as a general rule, aim for around 10-20 seeds per square inch. Lightly press the seeds into the soil with the back of a spoon or your hand.
Step 5: Watering and Humidity
Mist the seeds with a spray bottle to thoroughly moisten the soil without disturbing the seeds. If you want to increase humidity, you can cover the container with plastic wrap or a humidity dome. This helps the seeds germinate.
Step 6: Provide the Right Environment
Microgreens thrive in a bright location with indirect sunlight. A sunny windowsill or under grow lights can be ideal. Maintain a consistent temperature between 60-75°F (15-24°C) for optimal growth.
Step 7: Care and Maintenance
Keep the soil consistently moist but not waterlogged. Water gently to avoid dislodging the seeds. As the microgreens grow, you’ll need to monitor them closely. They should be ready for harvest in 1-3 weeks, depending on the variety.
Step 8: Harvest Your Microgreens
Harvest your microgreens when they reach a height of 1-2 inches. Use scissors to cut them just above the soil level. Microgreens are most flavorful and nutritious when freshly harvested.
Example: If you’re growing arugula microgreens, you can harvest them when the leaves are tender and have a distinct peppery flavor. These can be used to enhance the flavor of salads or sandwiches.
In conclusion, growing microgreens is a delightful and educational experience that doesn’t require a lot of space or expertise. By following these steps and choosing the right microgreen varieties, you can enjoy a fresh supply of flavorful, nutrient-packed greens throughout the year. Happy growing!
Read Also: Business Growth and it’s Importance
