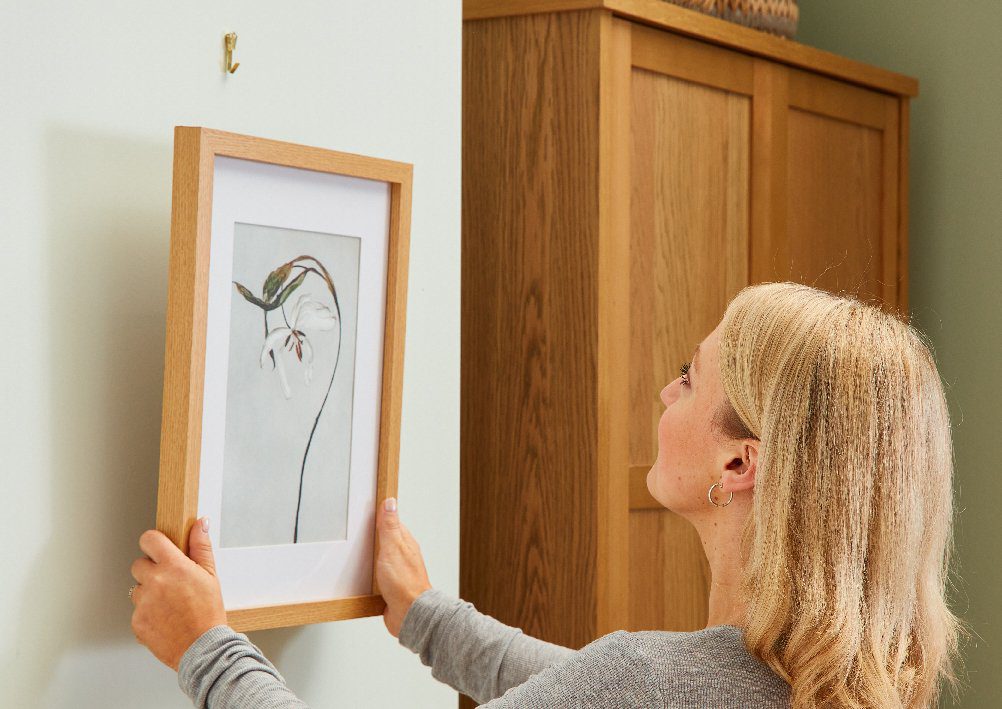
Hanging a picture might seem like a simple task, but when done correctly, it can transform your living space. Whether you’re an art enthusiast or simply looking to adorn your walls, here’s a comprehensive guide on how to hang a picture like a pro.
Tools and Materials
• Picture frame or artwork
• Wall hanger or hook
• Tape measure
• Pencil
• Level
• Hammer or drill (depending on your wall type)
Step 1: Choose the Right Location
Consider the location carefully. It should complement the room’s aesthetics and be at eye level for most viewers. Commonly, artwork is hung at around 57-60 inches from the floor. However, for larger pieces, you may need to adjust this height.
Read Also: Waste To Fertilizer: What You Need to Know
Step 2: Measure and Mark
Measure the distance between the hanging hardware on the back of your picture frame. Now, measure and mark the same distance on the wall, starting from the chosen location.
Step 3: Use a Level
Place a level horizontally on your wall to ensure that your mark is perfectly straight. Adjust as necessary.
Step 4: Install Wall Hangers
Depending on your wall type, you can use wall anchors and screws, a hammer and nails, or specialized picture hooks. Install the hardware at the marked point on the wall.
Step 5: Hang the Picture
Hang your picture by placing it on the wall hangers or hooks. Ensure it’s level by using the level again. Step back and admire your work!
Additional Tips
• For gallery walls, create a paper template to plan the arrangement before hanging.
• Use two hooks or hangers for larger and heavier frames for added stability.
• Consider the lighting in the room; avoid glare on glass frames.
By following these steps and considering the provided examples, you can hang a picture with precision and elegance, adding a touch of sophistication to your living space. Remember, attention to detail makes all the difference when it comes to home decor.
Read Also: Financial Statements – All You Need to Know About
