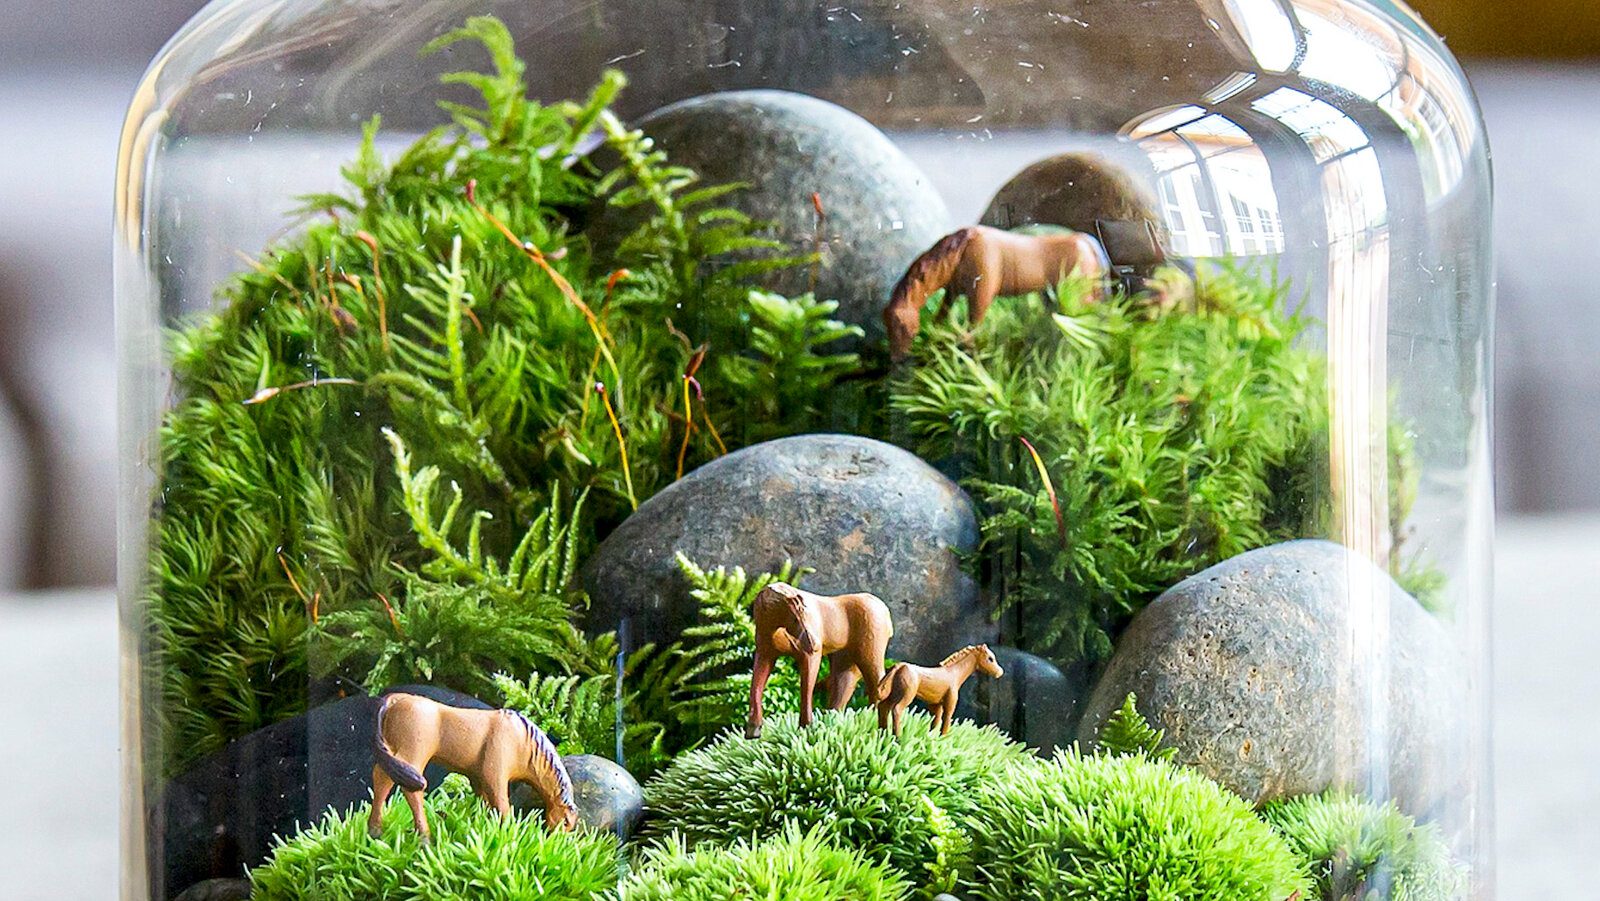
Creating a terrarium is a delightful and educational activity that allows you to build a self-contained miniature ecosystem within a glass container.
This artful arrangement of plants not only adds a touch of nature to your living space but also provides valuable insights into plant growth and ecology. In this guide, I will provide a step-by-step explanation of how to make a terrarium, along with relevant examples and details.
Materials Required
Before you start, gather the necessary materials:
1. Container: Choose a clear glass container with a lid or an open top. The choice of container greatly influences the terrarium’s aesthetics.
2. Gravel or Pebbles: These serve as the base layer for drainage. It ensures excess water doesn’t accumulate at the bottom, preventing root rot. A 1-2 inch layer is sufficient.
3. Activated Charcoal: Place a thin layer of activated charcoal over the gravel. This helps filter the air and prevent any potential odor.
4. Potting Mix: Use a well-draining potting mix suitable for the plants you intend to grow. Cacti and succulents require a different mix than tropical plants. Ensure that the layer is deep enough for your plants’ roots.
5. Plants: Choose small plants that thrive in the chosen environment. For example, if you are creating a closed terrarium, select moisture-loving plants like ferns, mosses, or fittonias. For an open terrarium, succulents and air plants work well.
Read Also: Complete Steps in Glass Recycling Guide
6. Decorative Elements: Add small stones, mini figurines, or other decorative elements to enhance the terrarium’s visual appeal.
7. Tools: You may need a long pair of tweezers or chopsticks to help with planting and arranging elements.
Step-by-Step Guide
1. Clean the Container: Ensure the glass container is clean and dry before you begin. A dirty container can lead to mold growth.
2. Layer the Base: Start with a layer of gravel or pebbles for drainage, followed by a thin layer of activated charcoal to maintain air quality.
3. Add Potting Mix: Carefully layer the appropriate potting mix on top of the charcoal. Make sure it’s deep enough to accommodate your plant’s roots.
4. Plant Selection and Placement: Decide where you want to place your plants within the container. Remember that different plants may have varying light and space requirements. For instance, if you’re creating a tropical-themed terrarium, consider placing a miniature fern in the center, surrounded by smaller plants.
5. Planting: Use a small trowel or your tweezers to plant your selections, making small holes in the soil to accommodate each plant’s root system.
6. Decorate: Add decorative elements like pebbles, tiny figurines, or decorative stones to enhance the visual appeal of your terrarium.
7. Watering: Water your terrarium lightly, being cautious not to overwater. The closed container will create a self-sustaining ecosystem, recycling moisture, but it’s essential not to make it too wet or too dry.
8. Close or Leave Open: If you’re using a container with a lid, seal it. For open terrariums, you can leave it as is. Ensure the terrarium is placed in the appropriate light conditions, depending on the plants you’ve chosen.
Maintenance
• Keep an eye on your terrarium for any signs of overgrowth or mold.
• Prune or remove plants as needed.
• Water sparingly and only when the soil feels dry to the touch.
• If your container is closed, open it occasionally to allow for fresh air exchange.
In conclusion, creating a terrarium is a fascinating way to explore the world of plants and ecology in a confined space.
By carefully selecting materials and following these steps, you can craft a beautiful, self-sustaining ecosystem that serves as both a décor piece and an educational tool. Whether you’re a seasoned horticulturist or a novice gardener, terrarium-making is a rewarding and enriching experience.
Read Also: Role of a Montessori Teacher and Critique of the Montessori Method
