A face mask should be washed and sterilized before use and cleaned again after becoming damp or moist. Color-safe bleach like Clorox 2 or Purex 2 can be used to sanitize with hot water.
Today we are going to take you through a comprehensive step by step guide on how to sew a nose mask with fabric materials for personal use and commercial purposes.
Begin by cutting your fabric using the chart below for the correct measurements.
Read Also: 10 Things about Bobbin Sewing how to Thread a Sewing Machine Bobbin

SUPPLY LIST
- 100% Quilting Cotton Fat Quarters
- Sewing Machine
- Rotary Cutter
- Self- Healing Cutting Mat
- Acrylic Ruler
- Sewing Pins
- Floral Wire
- Wire Cutters
Cutting Chart
Quilting (Tightly Woven) Cotton 3 Layers:
Adult: 9″ x 7″ Child: 7″ x 5″
Cut 2 pieces of Double Fold 1/2″ Bias Tape 40″
Floral Wire 6″
Step 1. Pin Fabric
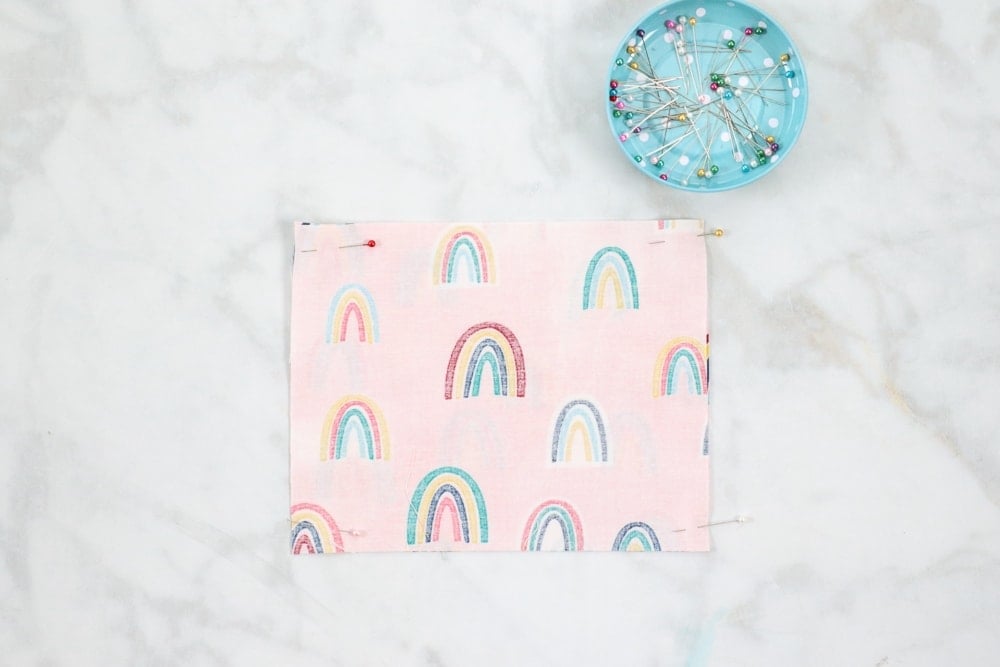
Place two pieces of fabric right sides together. Save the third piece for the end of step 2.
Place a pin in each corner of the rectangle and horizontally mark the center of the rectangle.

Step 2. Sew Filter Pocket
Halfway down from the top of the fabric sew a straight horizontal line 2-3″ long. Repeat this on the opposite side as well, leaving the middle unsewn. Refer to the photo below as a guide.
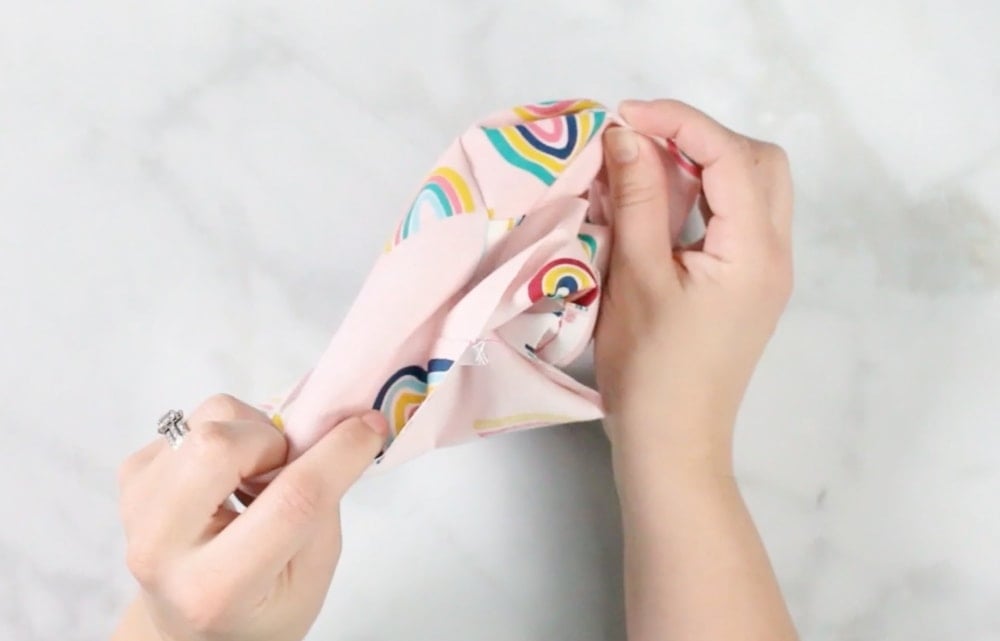
Pinch both corners of the top fabric and pull them downwards to meet the bottom. Do the same on the back fabric.

A filter can easily be slid into this pocket at the end of the tutorial.
Place the last rectangle on top of the lining with right sides facing each other. Sew the short sides of the face mask making sure to back-stitch at the beginning and end of each seam using a 3/8ths inch seam allowance.

Step 3. Turn Fabric
Turn the mask right side out and use an iron to press it flat. Take care to roll the seams outwards.

Step 4. Create Pin Tuck Markings
Create three pin-tuck markings by folding the mask in half and pressing it with an iron and then folding the outside edges to the center and pressing again.

Step 5. Sew Bias Tape.
Open the ends of the bias tape and fold them backwards so the right sides are touching each other. Sew a straight line along the short end of the bias tape making sure to back-stitch. Turn the corner right side out to create a clean finish.
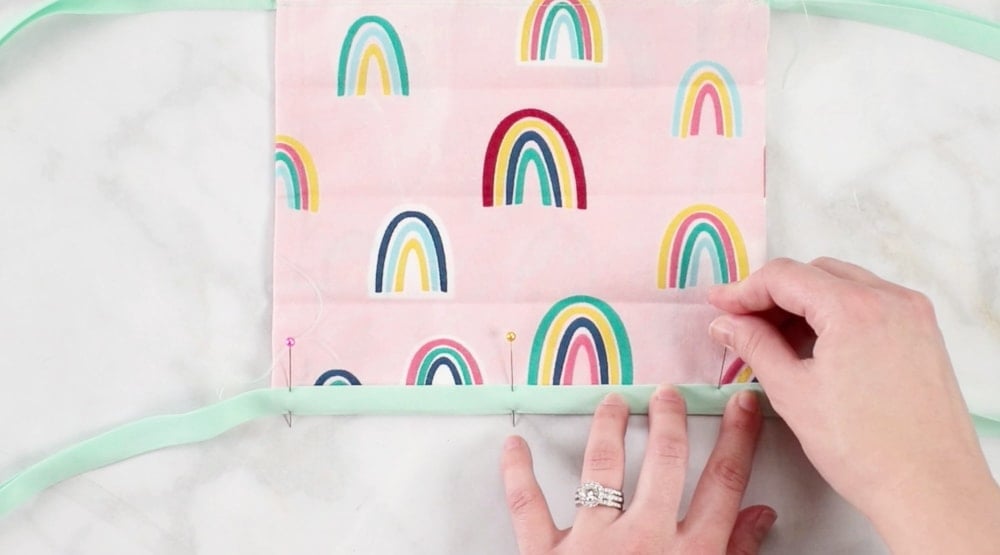
Find the center of the bias tape and position it at the center of the mask. Open the bias tape to align the raw edge of the bias tape with the raw edges of the mask. Pin in place along the length of the mask. Sew the bias tape in place along the crease closest to the raw edge, repeating this on the opposite side.
Read Also: Guide on how to Insert a Sewing Thread through a Needle and Tie a Knot
The filter slot should be facing away from you, this will be located on the backside of the mask.

OPTIONAL Cut a 5-6 inch piece of floral wire to create a flexible nose piece. Bend the ends of the wire inwards to prevent them from poking through the fabric. Slid the wire into the bias tape along the top middle of the mask. Pin on either side of the floral tape and push it upwards to avoid sewing over it.

Fold the bias tape upwards and encase the raw edge, pin in place and sew along the entire length of the bias tape 1/4th of an inch from the edge

You can use your fingers on either side to guide the bias tape as you sew it.
Step 6. Create Pin Tucks
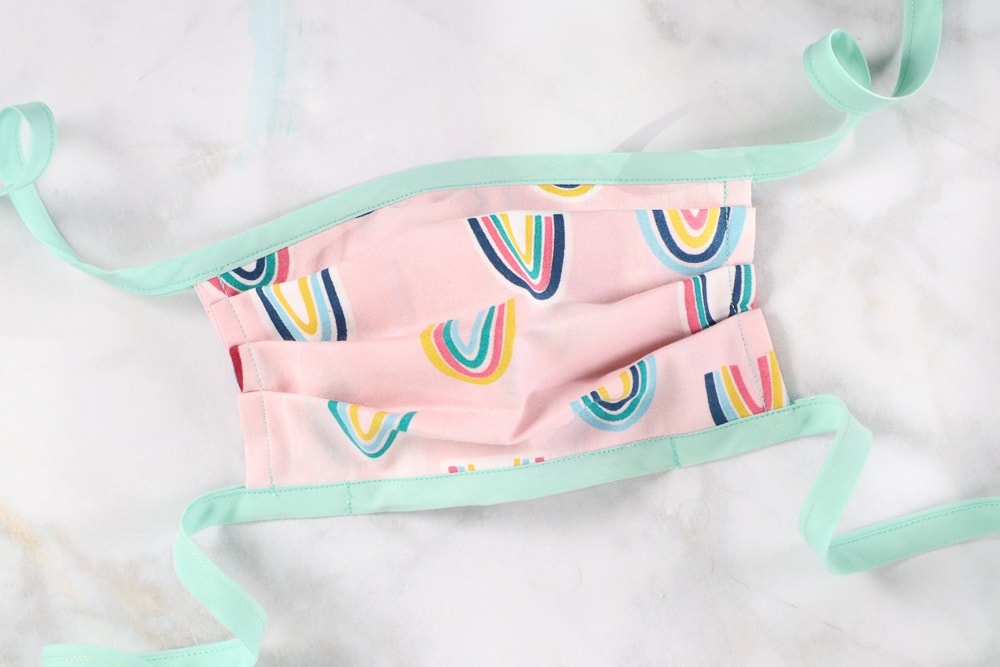
Create 1/2” folds facing downwards. Pin the folds in place making sure all tucks are facing the same direction.

Step 7. Top Stitch
Sew over the pin-tucks along the right and left edge of the entire mask using a 3/8ths inch seam allowance.


Related: Top 10 Amazing Kids Activities Recommended For Children
