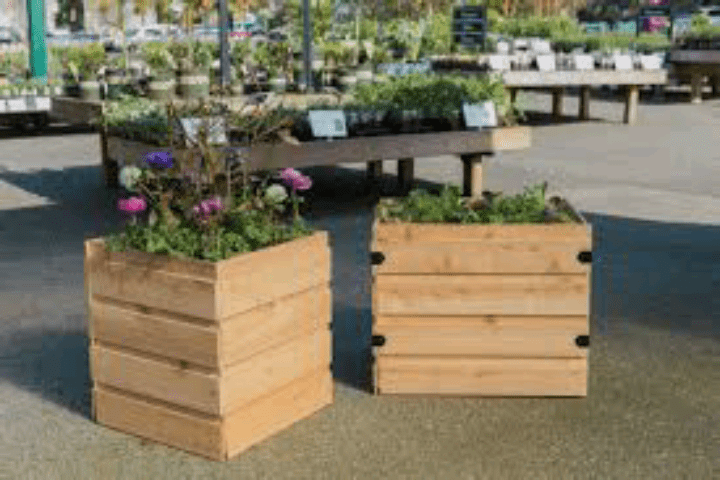
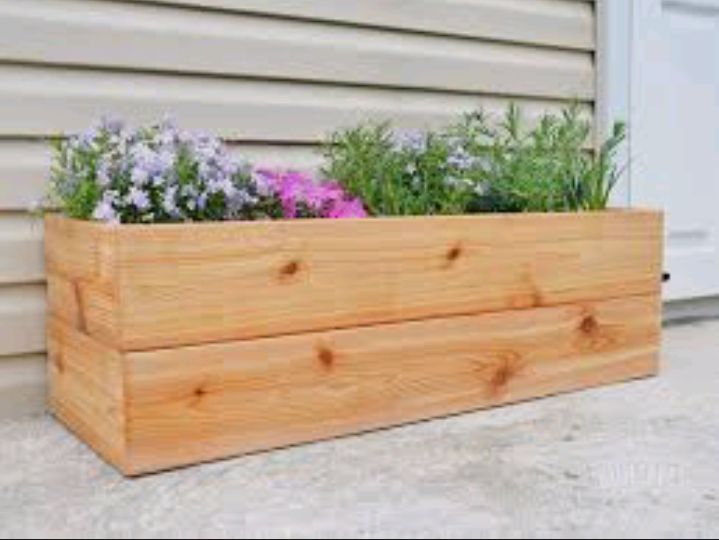
Are you ready to infuse a touch of nature into your surroundings? Look no further than the world of DIY planter boxes – a simple and gratifying way to cultivate your own little garden oasis. In this guide, we’ll walk you through the process of creating a personalized planter box that not only complements your space but also serves as a cozy home for your favorite plants.
Imagine the satisfaction of witnessing vibrant blooms or fresh herbs thriving in a container crafted by your own hands. The DIY planter box is not just a practical gardening solution; it’s a delightful project that allows you to express your creativity and connect with nature on a personal level.
Whether you’re a seasoned DIY enthusiast or a novice with a budding interest in gardening, this article is tailored for you. We’ll start with the basics, guiding you through the planning and preparation phase. From choosing the right materials and tools to designing the perfect size and shape, we’ve got you covered.
Once the planning is complete, we’ll seamlessly transition into the construction phase, where simple steps and user-friendly language ensure that building your planter box is a breeze. No complicated jargon, just straightforward instructions to bring your vision to life.
As we delve into planting and maintenance, you’ll discover that nurturing your green companions can be as enjoyable as the initial construction process. This guide is your companion from start to finish, offering tips on selecting the right plants, arranging them aesthetically, and providing the care they need to flourish.
So, are you ready to roll up your sleeves and embark on a journey of DIY delight? Let’s dive into the world of DIY planter boxes and watch your space transform into a haven of greenery!
Read also: DIY Fruit Fly Trap: A Simple Solution to Tackle Pesky Pests
DIY Planter Box

Part 1. Planning and Preparation
A. Designing Your Planter Box
Before going into the construction phase, take some time to plan your DIY planter box. Consider the following:
- Size and Dimensions: Determine the size of your planter box based on the space available and the types of plants you want to grow.
- Material Selection: Choose a suitable material for your planter box. Cedar and redwood are popular choices due to their durability and resistance to decay.
- Design Elements: Think about the aesthetic appeal of your planter box. Decide on features such as the shape, color, and any additional decorative elements.
B. Gathering Materials and Tools
Once you have a clear plan, gather the necessary materials and tools:
Materials:
- Wood boards (cedar or redwood recommended)
- Screws or nails
- Wood glue
- Sandpaper
- Wood stain or paint
- Landscape fabric
- Gravel or small stones
- Potting soil
Tools:
- Saw
- Screwdriver or drill
- Measuring tape
- Pencil
- Safety gear (gloves and safety glasses)
Part 2: Construction
A. Cutting and Preparing the Wood
- Measure and Mark: Use the measuring tape and pencil to mark the dimensions of the planter box on the wood boards.
- Cutting: Carefully cut the boards according to your measurements using the saw. Ensure precise cuts for a clean and professional look.
B. Assembling the Planter Box
- Side Panels: Arrange the cut boards to form the sides of the planter box. Apply wood glue along the edges for added stability.
- Securing with Screws or Nails: Use screws or nails to secure the boards together. Ensure the corners are square for a sturdy structure.
- Bottom Panel: Attach the bottom panel to the sides, leaving adequate space for drainage. This can be achieved by drilling small holes or leaving gaps between the boards.
- Finishing Touches: Sand the edges to smooth any rough surfaces. Apply wood stain or paint for a polished appearance and protection against the elements.
Read also: DIY Headboard: Transforming Bedrooms with Your Personal Touch
Part 3: Planting and Maintenance
A. Preparing for Planting
- Lining the Box: Line the inside of the planter box with landscape fabric to prevent soil from escaping while allowing water to drain.
- Adding Drainage Layer: Place a layer of gravel or small stones at the bottom to improve drainage.
B. Choosing and Planting
- Selecting Plants: Choose plants that thrive in your climate and suit the size of your planter box. Consider factors like sunlight and water requirements.
- Arranging Plants: Arrange your selected plants in the planter box, keeping in mind their eventual size and growth habits. This will ensure a visually appealing and well-balanced arrangement.
C. Maintenance Tips
- Watering: Monitor the moisture levels in the soil and water accordingly. Ensure proper drainage to prevent waterlogging.
- Fertilizing: Feed your plants with a suitable fertilizer to promote healthy growth. Follow the specific recommendations for each type of plant.
- Weeding: Keep an eye out for weeds and remove them promptly to maintain the aesthetics of your planter box.
- Seasonal Considerations: Adjust your care routine based on seasonal changes. Protect plants from frost in colder months and provide shade during scorching summers.
Part 4: Enjoying the Fruits of Your Labor
Congratulations! You’ve successfully created and cultivated your DIY planter box. As your plants flourish, take a moment to bask in the beauty of your creation and the joy it brings to your living space. With proper care and attention, your planter box will not only serve as a home for your favorite plants but also as a testament to your craftsmanship and dedication to gardening.
Remember, the journey of crafting a DIY planter box is not just about the end result but the experience and knowledge gained along the way. Happy gardening!
Read also: Benefit of Government Grants for Waste Management
