In the bustling tapestry of our daily lives, carpets silently bear the brunt of our footsteps, spills, and mishaps. Over time, these once-vibrant floor coverings can lose their luster, fading into a background of stains and wear.
Enter the DIY carpet cleaner, a beacon of hope for those seeking to revive their carpets without breaking the bank. In this straightforward guide, we’ll explore the world of do-it-yourself carpet cleaning, offering practical tips and accessible solutions to breathe new life into your home’s most well-trodden spaces.
Carpets are more than mere decor; they are cozy sanctuaries and silent witnesses to our daily routines. However, as life unfolds, so does the wear and tear on these soft underfoot companions. Hiring professional cleaners might seem like the go-to solution, but fear not—DIY carpet cleaning is a cost-effective and surprisingly simple alternative that puts the power back into your hands.
From common household items to easy-to-follow techniques, this guide will equip you with the knowledge needed to transform your carpets from tired to triumphant. Whether faced with stubborn stains, lingering odors, or just the wear of everyday life, our DIY carpet cleaner guide will empower you to navigate the challenges of carpet care with confidence.
So, roll up your sleeves, gather your supplies, and let’s embark on a journey to revitalize your carpets, one simple step at a time.
Read also: Step-by-Step Guide: How to Install Spray Foam Insulation Yourself
DIY Carpet Cleaner

I. Understanding Your Carpet
Before embarking on your DIY carpet cleaning journey, it’s crucial to understand the intricacies of your carpet. Carpets come in various materials such as wool, nylon, polyester, and more, each requiring specific care.
Additionally, consider the carpet’s pile height and density, as these factors influence the cleaning method and products you should use. Always refer to the manufacturer’s guidelines to ensure you’re using suitable cleaning agents that won’t compromise the integrity of your carpet.
II. Essential Tools and Supplies
To begin your DIY carpet cleaning adventure, assemble the following tools and supplies:
- Vacuum Cleaner: The first line of defense against dirt and debris, a high-quality vacuum cleaner with adjustable height settings is essential.
- Carpet Cleaner Solution: Choose a cleaning solution suitable for your carpet type. You can opt for commercial carpet cleaners or create your own using household items.
- Carpet Shampoo: Invest in a reliable carpet shampoo to deep clean and eliminate tough stains.
- Carpet Stain Removers: Specific stain removers for common issues like red wine, pet stains, and grease will enhance your cleaning arsenal.
- Microfiber Cloths and Sponges: Perfect for blotting and gently scrubbing stains without damaging the carpet fibers.
- Bucket and Brush: A sturdy brush and bucket combo can be used for spot cleaning and agitating the carpet fibers.
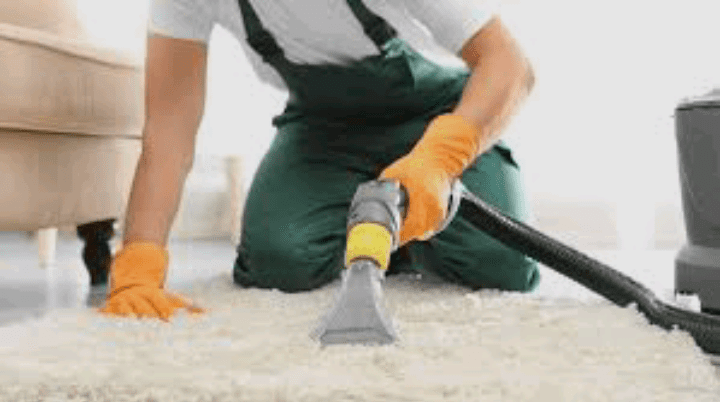
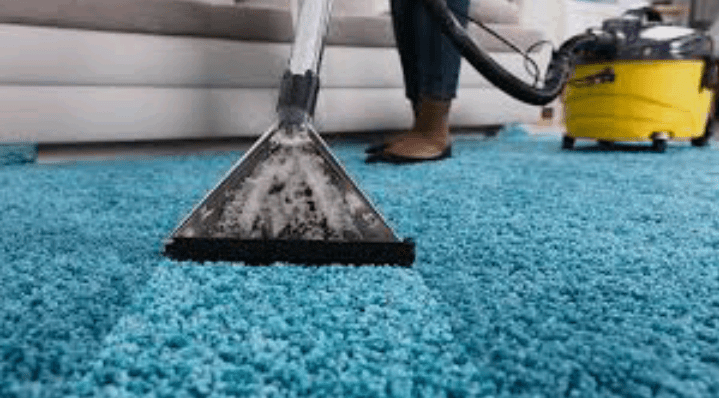
- Steam Cleaner: For a more thorough cleaning, a steam cleaner can be a valuable addition to your toolkit.
Read also: DIY – How to Make Bracelets at Home
III. DIY Carpet Cleaning Techniques
- Regular Vacuuming (Pre-cleaning): Begin your carpet cleaning routine with regular vacuuming. This removes loose dirt and debris, preventing them from embedding deeper into the carpet fibers during the cleaning process. Pay special attention to high-traffic areas and use attachments for corners and edges.
- Spot Cleaning: Tackle stains promptly to prevent them from becoming permanent eyesores. Blot the stain with a clean, damp cloth or sponge. Avoid rubbing, as it can spread the stain. Apply a small amount of a suitable carpet stain remover and gently blot until the stain lifts.
- Homemade Carpet Cleaner Solution: Create an effective DIY carpet cleaner using common household items. Mix equal parts white vinegar and water, adding a few drops of dish soap. This solution is not only cost-effective but also eco-friendly.
- Carpet Shampooing: For a deeper clean, consider carpet shampooing. Dilute the carpet shampoo according to the manufacturer’s instructions, apply it to the carpet, and use a brush or sponge to work it into the fibers. Allow it to sit for the recommended time before extracting the shampoo with a wet vacuum or steam cleaner.
- Steam Cleaning: Steam cleaning is a powerful method that utilizes hot water and steam to lift dirt and stains from the carpet. Ensure your carpet is suitable for steam cleaning, and follow the manufacturer’s guidelines for your steam cleaner. This method is particularly effective for removing allergens and bacteria.
- Deodorizing: If your carpet harbors unpleasant odors, sprinkle baking soda liberally over the surface and let it sit for at least 30 minutes. Vacuum thoroughly to remove both the baking soda and the trapped odors. For a pleasant fragrance, add a few drops of essential oil to the baking soda before application.
- Preventive Measures: To prolong the life of your carpet and reduce the frequency of deep cleaning, implement preventive measures. Use doormats to trap dirt at entrances, establish a no-shoes policy, and regularly rotate furniture to prevent uneven wear.
IV. Real-Life Examples
- Red Wine Emergency: Picture this: a dinner party at your home, and a guest accidentally spills red wine on your pristine carpet. Panic not! Blot the stain immediately with a clean cloth or paper towel. Mix a solution of equal parts white vinegar and water, gently dab the stain, and watch the red wine disappear.
- Furry Friends and Pet Stains: Pet accidents are inevitable, but their aftermath doesn’t have to be permanent. Blot the affected area with paper towels, then apply a mixture of water and mild dish soap. For lingering odors, sprinkle baking soda over the area, let it sit, and vacuum after a few hours.
- Grease Marks from Culinary Adventures: Cooking mishaps can leave behind stubborn grease stains. Act swiftly by sprinkling cornstarch or baking soda on the affected area to absorb the grease. After letting it sit, vacuum thoroughly and treat any remaining stains with a mixture of dish soap and water.
Read also: The Impact of Waste to Art Business
