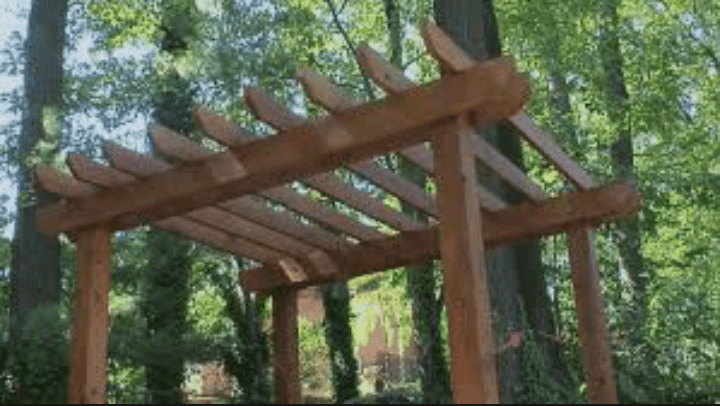
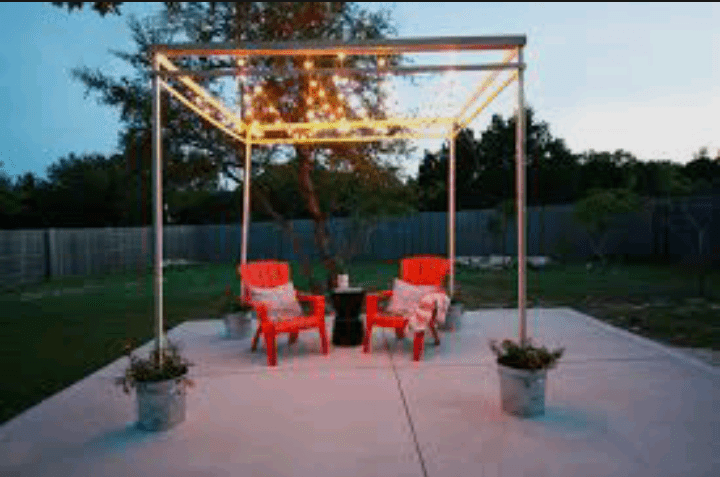
Embarking on the journey of building a DIY pergola is more than just constructing a shade structure; it’s about creating your own outdoor sanctuary. In the realm of do-it-yourself projects, a pergola stands out as a versatile and aesthetically pleasing addition to any backyard. This simple yet impactful structure not only provides respite from the sun but also adds a touch of charm and personality to your outdoor space.
Whether you envision a cozy corner for sipping morning coffee or a gathering place for weekend barbecues, the DIY pergola is your canvas for outdoor creativity.
This article serves as your comprehensive guide, walking you through each step of the process, from initial planning to the final finishing touches. No need for advanced carpentry skills or an extensive toolkit – we’ll break it down into simple, manageable tasks.
Imagine the satisfaction of stepping into your transformed backyard, where the gentle play of sunlight filters through the lattice roof of your handcrafted pergola. With this guide, we aim to demystify the DIY pergola journey, making it accessible to beginners and seasoned DIY enthusiasts alike.
Let’s turn that vision into a reality, one step at a time, as you embark on the fulfilling adventure of building your very own DIY pergola – the key to unlocking the full potential of your outdoor space.
Read also: DIY Laundry Detergent: Transforming Laundry Day with a Homemade Touch
DIY Pergola

1. Planning Your DIY Pergola
Before you embark on your pergola-building adventure, take a moment to envision the purpose and style of your outdoor space. Consider the following factors:
- Purpose and Functionality:
- Define the primary purpose of your pergola. Is it a space for dining, entertaining, or simply relaxing?
- Consider the amount of shade you desire and how the pergola will enhance your outdoor lifestyle.
- Location:
- Evaluate your backyard space to determine the ideal location for your pergola.
- Take into account factors such as sunlight, wind direction, and proximity to existing structures.
- Size and Shape:
- Determine the dimensions of your pergola based on the available space and intended use.
- Choose a design that complements your home’s architecture and the overall aesthetics of your outdoor area.
2. Designing Your DIY Pergola
Once you’ve outlined the purpose and location of your pergola, it’s time to delve into the design phase. Consider the following design elements:
- Material Selection:
- Choose materials that not only withstand the elements but also enhance the visual appeal of your pergola.
- Common materials include cedar, redwood, pressure-treated lumber, or even metal for a modern touch.
- Style and Structure:
- Decide on the style of your pergola, whether it’s a classic design with traditional columns or a more contemporary structure with sleek lines.
- Determine the type of roof structure you prefer, such as a flat, gable, or pitched roof.
- Permits and Regulations:
- Check local building codes and obtain any necessary permits before starting your DIY project.
- Ensure compliance with regulations regarding setbacks, height restrictions, and other relevant guidelines.
Read also: How to Get Rid of Crickets in Houses
3. Materials and Tools for DIY Pergola Construction
Now that you have a solid plan and design in place, gather the necessary materials and tools for your pergola project:
- Materials:
- Lumber for the frame and posts (consider treated wood for durability).
- Concrete for post footings.
- Fasteners (screws, bolts, nuts) suitable for outdoor use.
- Cement for securing posts in the ground.
- Optional: Stain or sealant for preserving the wood.
- Tools:
- Circular saw or miter saw for cutting lumber.
- Power drill with appropriate drill bits.
- Level for ensuring a straight and level structure.
- Shovel for digging post holes.
- Ladder for working at heights.
- Safety gear, including gloves and safety glasses.
4. Constructing Your DIY Pergola
With your materials and tools ready, it’s time to roll up your sleeves and start building your dream pergola:
- Site Preparation:
- Mark the pergola’s footprint using stakes and string.
- Dig post holes according to your design and local regulations.
- Installing Posts:
- Set the posts in the holes, ensuring they are level and properly aligned.
- Mix and pour concrete around the posts for stability.
- Building the Frame:
- Cut the beams and rafters according to your design specifications.
- Attach the beams to the posts, creating the basic frame of the pergola.
- Install the rafters evenly across the beams.
- Roofing:
- Add crossbeams for additional support.
- Choose and install the roofing material, whether it’s slats, lattice, or a solid cover.
- Finishing Touches:
- Sand any rough edges and surfaces for a smooth finish.
- Apply stain or sealant to protect the wood and enhance its appearance.
- Add any decorative elements, such as climbing vines or outdoor lighting, to personalize your pergola.
5. Maintenance and Longevity
Congratulations on completing your DIY pergola! To ensure its longevity and continued enjoyment, consider these maintenance tips:
- Regular Inspections:
- Periodically check for signs of wear, such as loose fasteners or damaged wood.
- Address any issues promptly to prevent further damage.
- Cleaning:
- Remove debris and clean the pergola with mild soap and water.
- Consider reapplying sealant or stain every few years to protect the wood from the elements.
- Landscape Integration:
- Incorporate landscaping elements around your pergola to enhance its visual appeal.
- Trim any overhanging branches that could potentially damage the structure.
Read also: Guide on Environmental Management Tips for Reducing Waste
